

How to install a lock on a switch plastic enclosure?
Aug 20, 2026
Leave a message
As a trusted supplier of Switch Plastic Enclosures, I understand the importance of not only providing high - quality enclosures but also equipping our customers with the knowledge to make the most of our products. One common task that many users face is installing a lock on a switch plastic enclosure. In this blog, I'll guide you through the process step - by - step.
Why Install a Lock on a Switch Plastic Enclosure?
Before delving into the installation, it's crucial to understand why you might need a lock on your switch plastic enclosure. Firstly, security is a major concern. Whether it's in an industrial setting to protect sensitive electrical equipment or in a home environment to prevent accidental access by children, a lock ensures that only authorized personnel can open the enclosure. Secondly, it helps in maintaining the integrity of the internal components. Unauthorized access can lead to tampering, which may cause malfunctions or safety hazards.

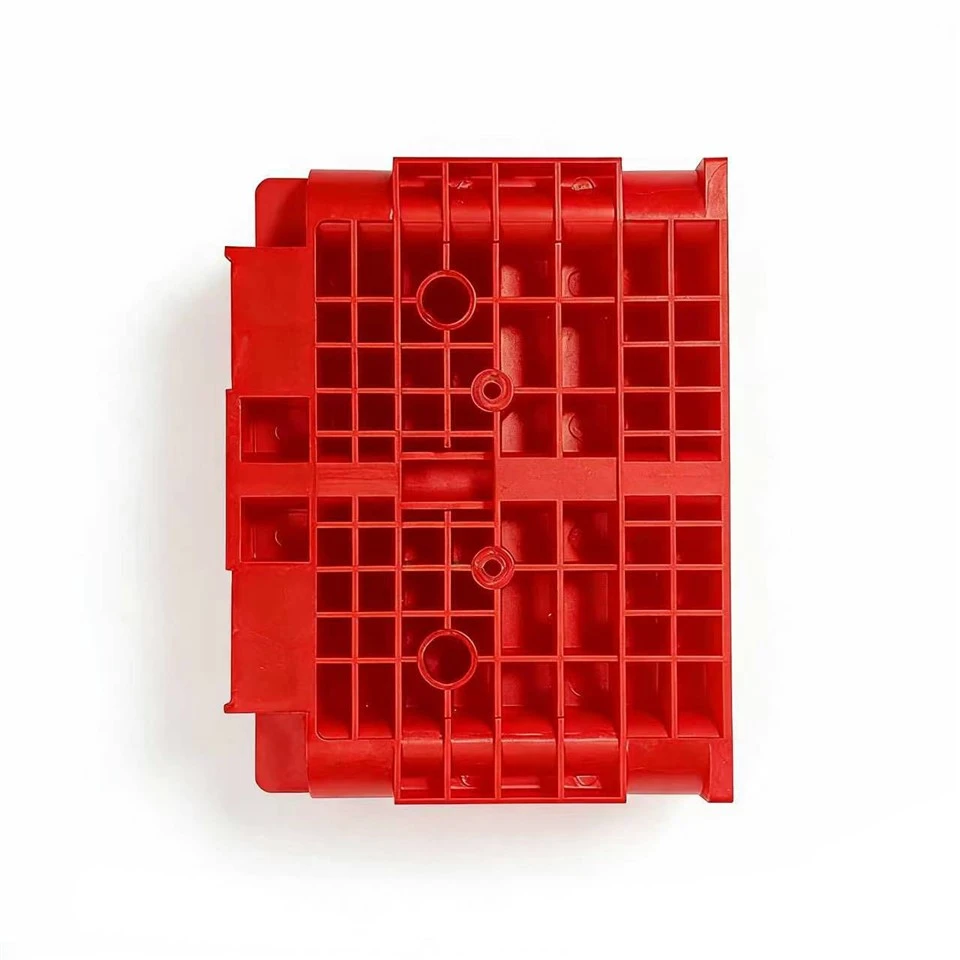
Tools and Materials You'll Need
- Tools:
- Screwdriver (either Phillips or flat - head, depending on the type of screws on your lock and enclosure).
- Drill (if the enclosure doesn't have pre - drilled holes for the lock). A drill bit of an appropriate size is also required. This size will depend on the screws that come with your lock set.
- Measuring tape or ruler for accurate placement of the lock.
- Pencil to mark the holes on the enclosure.
- Materials:
- A suitable lock for your switch plastic enclosure. There are various types available, such as key - operated locks, combination locks, and padlocks. Choose one that suits your security needs and the design of the enclosure.
- Screws provided with the lock set.
- Optional: Some lock sets may come with washers, which can help distribute the pressure evenly when tightening the screws.
Step 1: Select the Right Lock
The first step is to select a lock that is compatible with your switch plastic enclosure. Consider the size and shape of the enclosure. For smaller enclosures, a simple key - operated lock may be sufficient. For larger enclosures or those in high - security areas, a combination or more complex locking mechanism might be required. Make sure the lock you choose has the appropriate dimensions to fit the enclosure. For example, if the enclosure has a narrow edge, a lock with a slim profile would be a better choice. You can also visit our Switch Plastic Control Box page to get an idea of the different enclosures we offer and the types of locks that might be suitable for them.
Step 2: Prepare the Enclosure
- Clean the Surface: Use a clean, dry cloth to wipe the area of the enclosure where the lock will be installed. This ensures that there is no dust or debris that could affect the installation or the performance of the lock later.
- Measure and Mark: Use a measuring tape or ruler to determine the correct placement of the lock. Most locks come with installation instructions that specify the distance from the edges of the enclosure. Mark the positions of the holes on the enclosure using a pencil. If you're unsure about the placement, it's a good idea to double - check the measurements and consult the lock's manual.
Step 3: Drill the Holes (if necessary)
If your switch plastic enclosure doesn't have pre - drilled holes for the lock, you'll need to drill them. First, select the appropriate drill bit size based on the screws that come with the lock set. Place the drill bit at the marked positions and start drilling slowly. Apply gentle pressure to avoid cracking the plastic. Once the holes are drilled, use a clean cloth to remove any plastic shavings from the holes and the surrounding area.
Step 4: Install the Lock
- Attach the Lock Body: Take the lock body and align it with the holes on the enclosure. Insert the screws through the holes in the lock and into the holes on the enclosure. Use a screwdriver to tighten the screws carefully. Don't over - tighten, as this can damage the plastic or strip the screw holes. If washers are provided with the lock set, place them between the lock and the enclosure before tightening the screws.
- Install the Lock Cylinder (if applicable): Some locks have a separate lock cylinder that needs to be installed. Follow the manufacturer's instructions to insert and secure the lock cylinder in place. This may involve inserting a key or using a special tool to lock the cylinder in position.
Step 5: Test the Lock
After installing the lock, test it to make sure it works properly. Insert the key or enter the combination (depending on the type of lock) and turn the lock to open and close the enclosure. Check for any signs of binding or resistance. If the lock doesn't work smoothly, double - check the installation to make sure the lock is properly aligned and the screws are tightened correctly.
Tips for a Successful Installation
- Follow the Manufacturer's Instructions: Every lock is different, and the manufacturer's instructions provide the most accurate and detailed information for installation. Make sure to read and follow these instructions carefully.
- Use the Right Tools: Using the correct tools, such as a properly sized screwdriver and drill bit, is essential for a successful installation. Using the wrong tools can lead to damage to the lock or the enclosure.
- Take Your Time: Rushing the installation can lead to mistakes. Take the time to measure accurately, drill the holes carefully, and tighten the screws properly.
Additional Considerations
In some cases, you may need to consider the environment in which the switch plastic enclosure will be used. For example, if the enclosure is located outdoors or in a humid environment, you may need to choose a lock that is resistant to rust and corrosion. Additionally, if the enclosure is subject to a lot of vibration or movement, you may need to use additional fasteners or adhesives to ensure that the lock remains securely attached.
As a Switch Plastic Enclosure supplier, we also offer a wide range of related products. For instance, if you're in the market for Microphone Plastic Housing or Red 61 Stator End Plate, we can provide you with high - quality options.
We understand that each customer's needs are unique, and we're here to help you find the perfect solutions for your projects. If you have any questions about switch plastic enclosures, lock installation, or any of our other products, don't hesitate to contact us for purchasing and negotiation. Our team of experts is ready to assist you.
References
- General knowledge of lock installation on plastic enclosures from industry experience.
- Instruction manuals of various lock manufacturers.